Sourdough Starter
Servings: 1 servings
Calories:
Learning how to feed and maintain a successful sourdough starter is a great deal of fun, highly satisfying, and takes only 3 easy steps! 1) create a sourdough starter by combining water and flour, 2) let starter sit in a warm area to grow microbes, and 3) set up and commit to a feeding schedule to keep it alive and reasy for use.
Print Recipe
Equipment
- 3/4 L jar
- Kitchen Scale
Ingredients
- To create a sourdough starter from scratch the overall process should take about 7 days (or more) from start to finish- it’s not instant. First, you’ll create the starter with whole wheat flour to jumpstart fermentation. Then, you’ll continue to feed it with regular all-purpose flour to cultivate the wild yeasts and friendly bacteria.
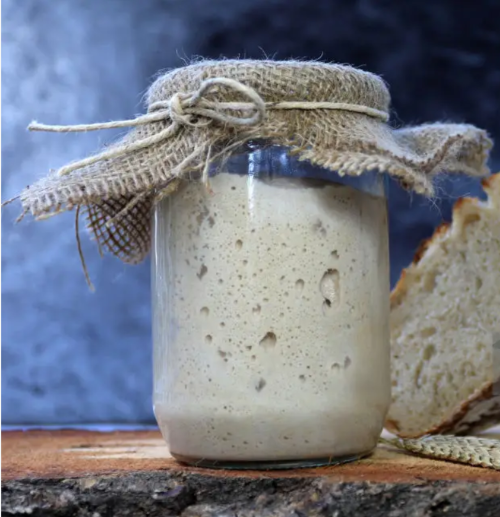
- Your starter is ready when it has doubled in size with plenty of bubbles on the surface and throughout the culture.
- You’re basically feeding it by adding flour and water over time, and then waiting for it to become bubbly and double in size. That’s it.
To create the starter:
- 60 g 1/2 cup whole wheat flour
- 60 g 1/4 cup water
- 1 teaspoon agave (optional and not necessary)
To feed the starter each day
- 60 g 1/2 cup unbleached all purpose flour or bread flour I like to keep using rye or whole-wheat flour. The wild yeasts and friendly bacteria seem to grow better using whole grain flours.
- 60 g 1/4 cup water
Instructions
- Day 1: Combine 60 g (1⁄2 cup) of whole wheat flour and 60 g (1⁄4 cup) of warm water in a large jar. Mix with a fork until smooth; the consistency will be thick and pasty. If measuring by volume, add more water to slightly thin out the texture if necessary. Cover with plastic wrap or a lid and let it rest in a warm spot, about 75-80 F, for 24 hours. Temperature is important.
- TIP: Looking for a warm spot? Place your starter on a cookie sheet inside the oven (turned off) with the light on for an hour or two (it can get hot in there, so keep you eye on it!). Center rack is best. You can also use a proofing box set to your desired temperature, or a microwave with the door ajar and light on.
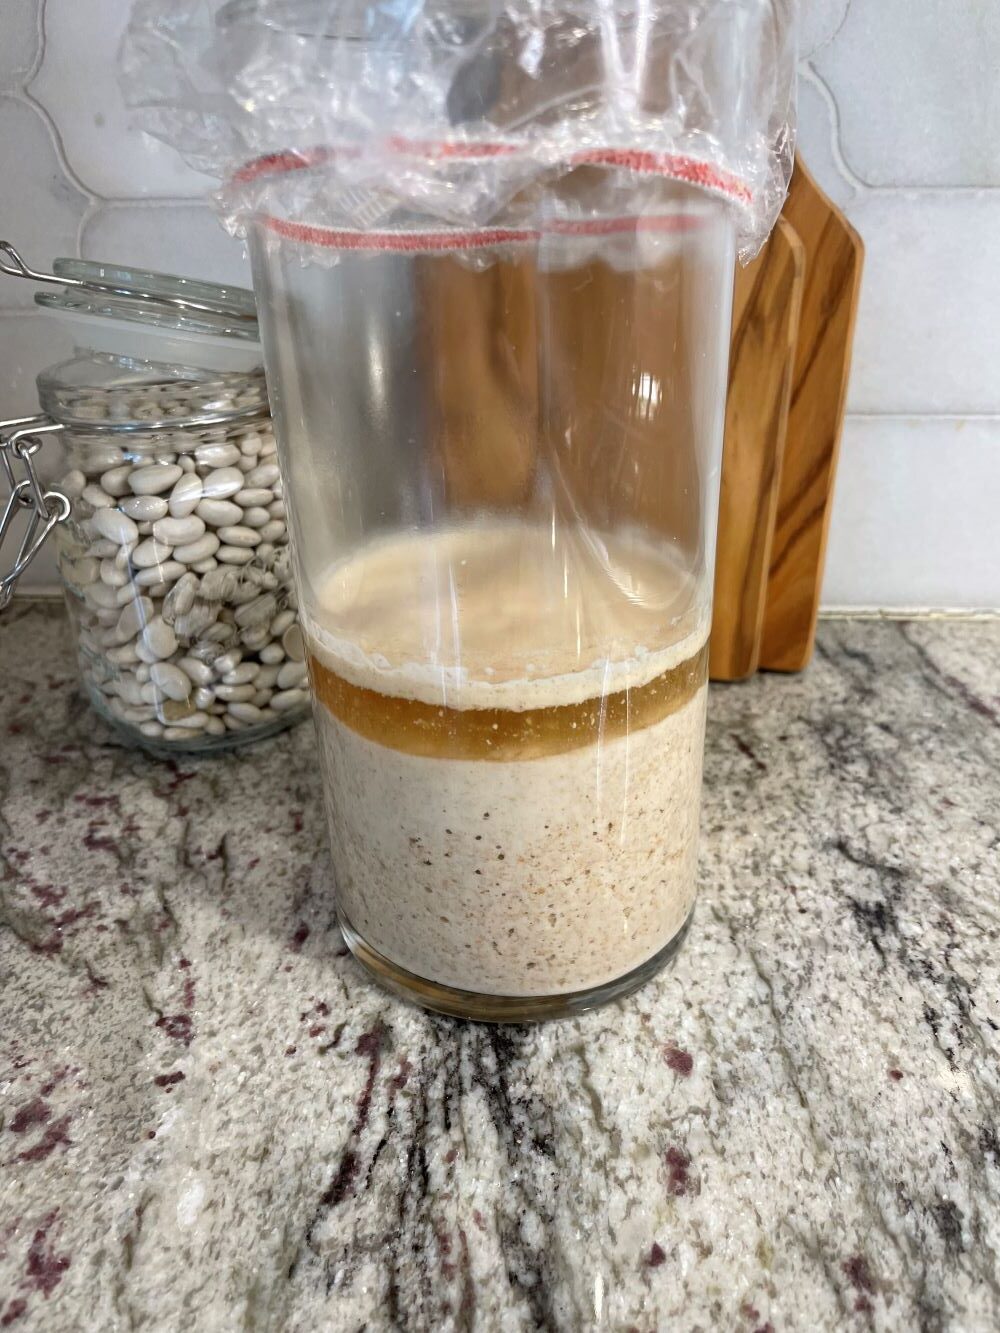
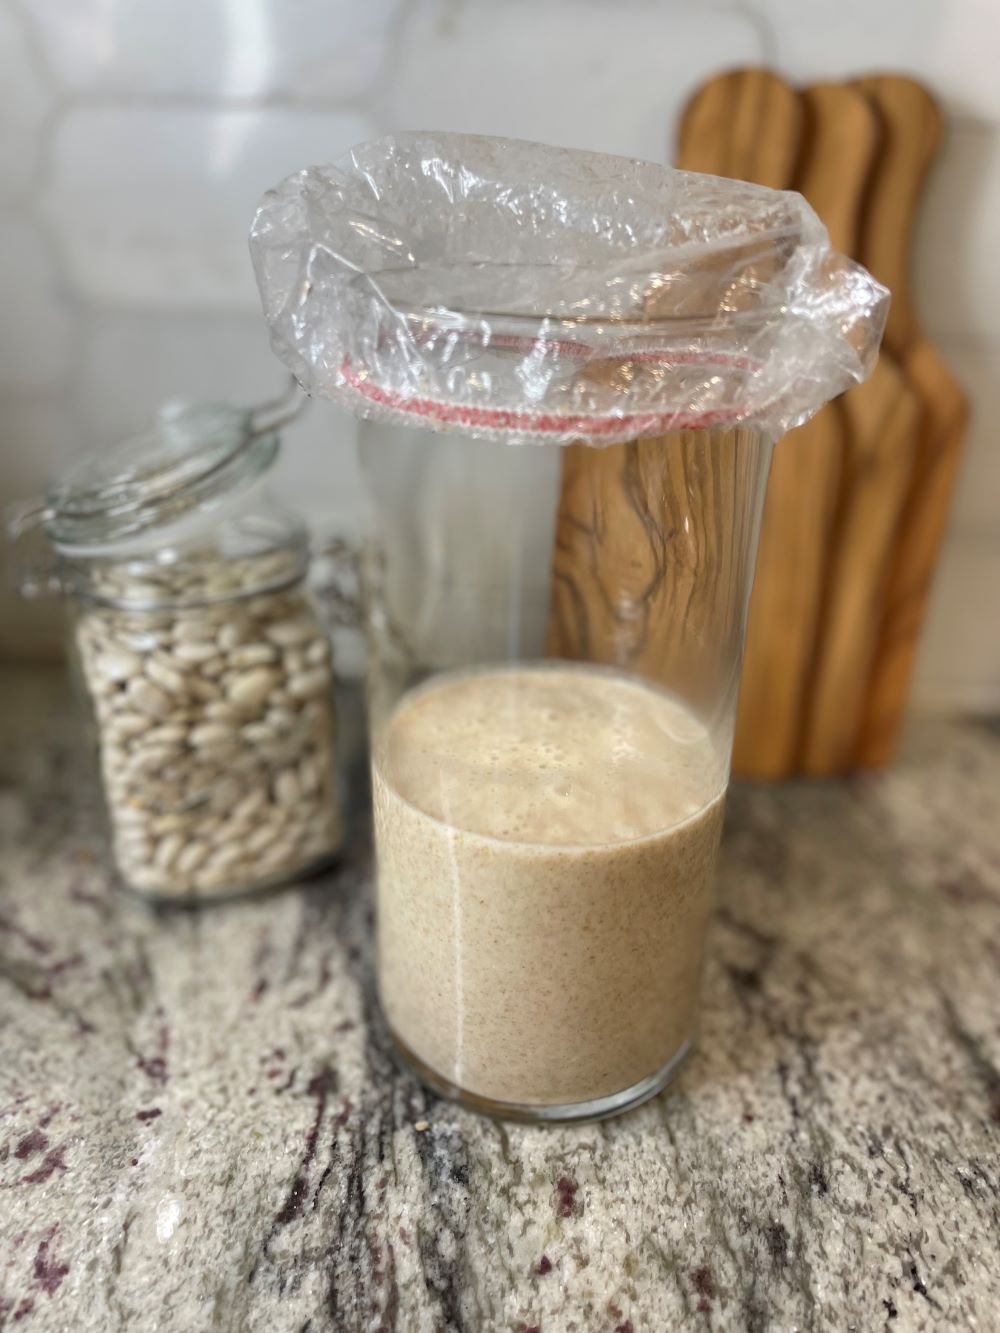
- Day 2: Check to see if any bubbles have appeared on the surface. If you don’t see anything, it’s okay. The bubbles might have appeared and dissolved overnight while you were sleeping. You don’t have to do anything else now. Rest the starter for another 24 hours.
- TIP: During this process, and even after your starter has been growing for a bit, a dark liquid might appear on the surface. It might have a very stinky smell. This liquid is called “hooch” and is an indication that your starter needs to be fed. It’s normal. Any time you see this liquid, it’s best to remove it along with any discolored starter present. However, on Day 2 just leave the hooch alone. You can remove it tomorrow when you start the feedings.

- Day 3: Remove and discard approximately half of your starter from the jar (you should have 60 g left). The texture will be very stretchy. Add 60 g (1⁄2 cup) of all-purpose flour and 60 g (¼ cup) of warm water to the jar. Mix with a fork until smooth. The texture should resemble thick pancake batter or plain yogurt at this point. Cover and let rest in your warm spot for another 24 hours.

- Days 4, 5 & 6: Continue feeding your starter: remove and discard about half and add 60g flour + 60g warm water each day. You can use the discard in recipes if you like.
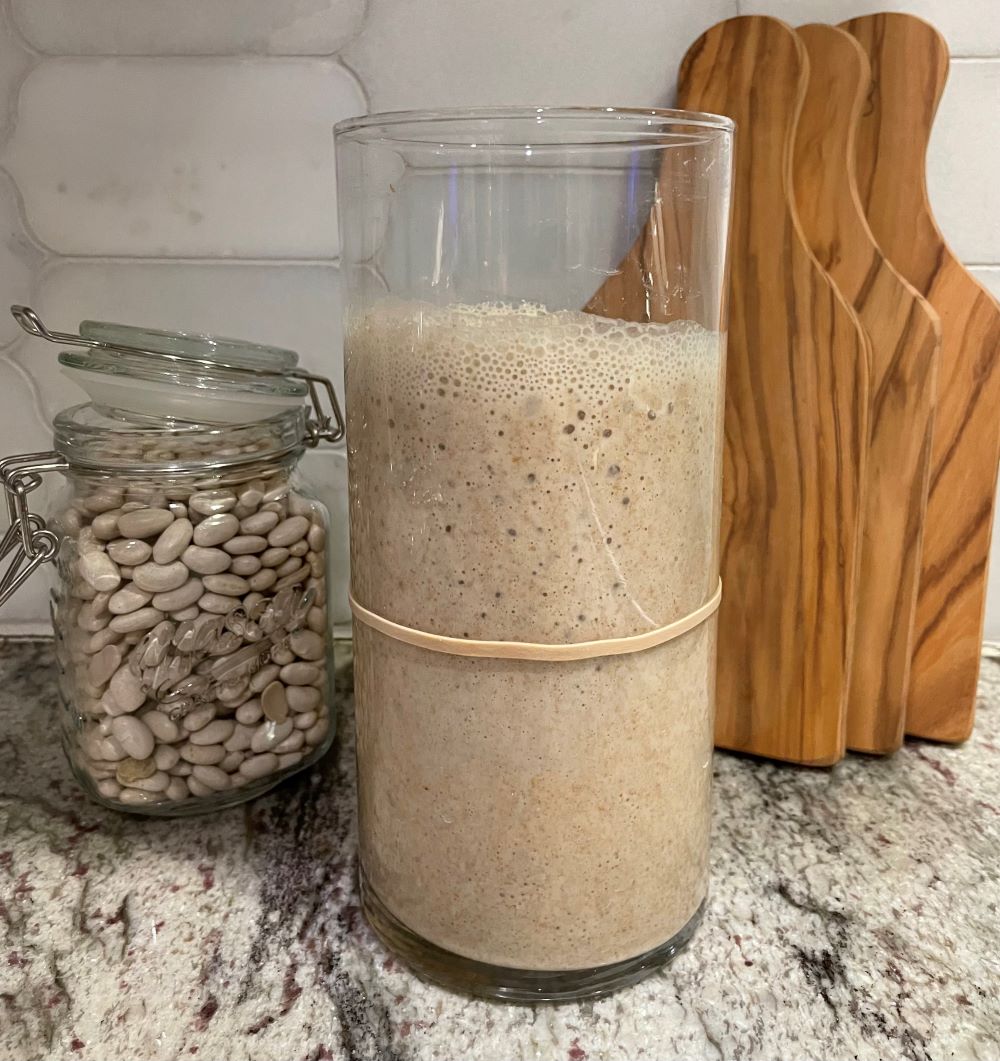
- As the yeast begins to develop, your starter will rise and bubbles will form on the surface and throughout the culture. When the starter falls, it’s time to feed it again. TIP: Place a rubber band or piece of masking tape around the jar to measure the starter’s growth as it rises.
- Day 7: By now, your starter should have doubled in size. You should see plenty of bubbles, both large and small. The texture will be spongy, fluffy, and similar to roasted marshmallows (think: s’mores). It should smell pleasant, and not link stinky like gym socks. If these conditions are met, your starter is now active and ready to use!

- Please keep in mind, if your starter is not ready at this point which is quite common due to temperature issues (too cold), timing, and other factors, continue the feeding it for 1-2 weeks or more. Seriously, it is OK! Be patient!
- The very last step is to transfer your starter to a nice, clean jar.
Overall Daily Schedule with Measurements
- Day 1: 60 g flour + 60 g water = 120 g starter
- Day 2: Do nothing
- Day 3: Remove & discard half of the starter/ 60 g starter + 60 g flour + 60 g water = 180 g starter
- Day 4: Remove & discard half of the starter/ 90 g starter + 60 g flour + 60 g water = 210 g starter
- Day 5: Remove & discard half of the starter/ 105 g starter + 60 g flour + 60 g water = 225 g starter
- Day 6: Remove & discard half of the starter/ 112.2 g starter + 60 g flour + 60 g water = 232.5 g starter
- Day 7: Remove & discard half of the starter/ 116.25 g starter + 60 g flour + 60 g water = 236.27 g starter
Notes
Wondering if your starter is ready to use?
When your starter is fully active, do the float test. Feed your starter, wait for it to double in size, and then drop a teaspoon of bubbly starter into a jar of water; if it floats to the top it's ready to use.Storage Options
If you bake often, store your starter at room temperature (feed it 1x-2x a day to keep it active). If you plan to bake only once in a while, store it in the fridge to preserve its strength (feed it 1x a week). When storing your starter in the fridge, there’s no need to bring it to room temperature first before feeding it. Just give it some flour and water and pop it back in the fridge.